Home > Working with Planning Projects > Project Management > Creating A Splash Screen
Creating A Splash Screen
Last Updated 5/28/2012 12:29 PM
When other users access your planning project, it is useful to provide them with a splash screen which provides information on the purpose of the project, and can also provide instructions for users.
The project management screen provides an HTML wysiwig editor which enables creation of an informative HTML page giving details of the project and incorporating graphics if required. To input a splash screen, go to Project Management under the Planning tab, and click on the  button for the project, and the HTML editor will be displayed (initially with a blank screen). button for the project, and the HTML editor will be displayed (initially with a blank screen).
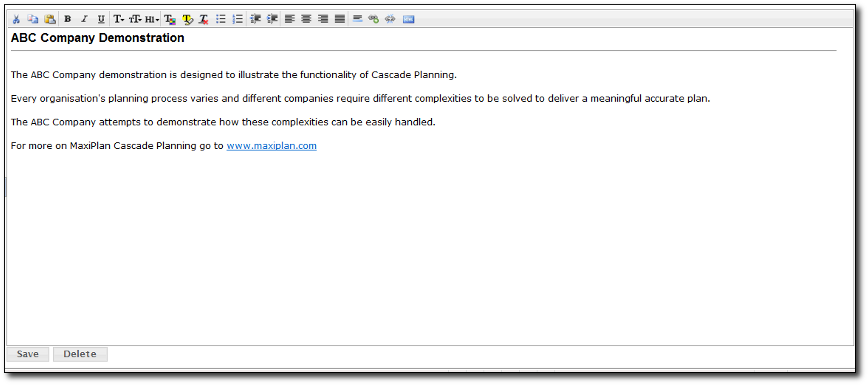
Using the editor and editor functions, create the desired Splash screen and click on the  button to save your changes. button to save your changes.
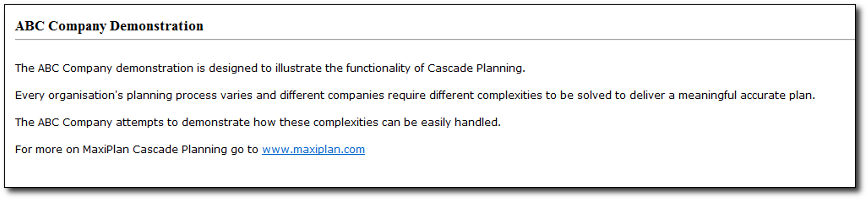
Once saved, you can see what your splash screen looks like by clicking on the project tab.
See also
Creating and Maintaining Projects
Period Sets
Currencies
Allowing Other Users Access
Backup and Restore
Virtual Period Definition
Deployment Alias
Publish Documents
Project Status
| 

 Page URL: