Home > Working with Planning Projects > Project Management > Creating and Maintaining Projects
Creating and Maintaining Projects
Last Updated 3/22/2012 10:40 PM
The starting point for any Cascade Planning application is a Project. A Cascade Project is a container that comprises all the models, the
links, scripts, report and data for a
specified planning application. The 'Project Management' option provides the facilities to create, modify and delete projects. Users who have been granted access to the Planning component can manage their own projects but do not have access to other users projects. Users with System Administrator rights can also change the owner of a project to another user. The owner of a project has the rights to administer the project as well as grant access to other users for that project.
Creating a New Project
Creating a Project is the first step in building your planning application. To create a project, select
Planning>Projects>Project Management on the navigation panel, and then enter the name of your project.
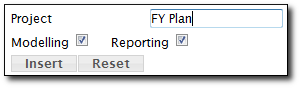
In the above example, we are creating the project 'FY Plan'.
You will also need to decide if project 'FY Plan' is relevant for Modelling and Reporting.
The Modelling feature allows project owners to create and maintain planning models in the project.
The Reporting feature allows project owners to create and maintain reports scripts or other scripts in the project.
Tick on the relevant checkbox to enable these features.
Click on the Insert button and Planning will create the project container for the 'FY Plan' project. This should appear as a new tab in the top menu.
At this stage, the project owner is the only user who will see this tab.
Other users will not see the tab until such times as models or reports are deployed to them.
By selecting this tab, you will have access to all the Cascade functions necessary to define new models, setup deployment, manage work flow, build reports, write scripts and generally build, edit and maintain models.
For information on how to build a Cascade Planning Model, see
Building A Cascade Planning Model.
Renaming a Project
To rename a project, go to the Project Management screen and click on the EDIT button next to the project you wish to rename.
Your project name will appear in the data entry panel at the top of the frame.
Edit the project name, and click the UPDATE button to save your changes.
Deleting a Project
To delete a project, go to the Project Management screen and click on the DELETE button next to the project you wish to rename.
Changing a Project's Owner
To change project owner, go to Project Management screen and select the new Owner from the droplist next to the project.
Project Summary
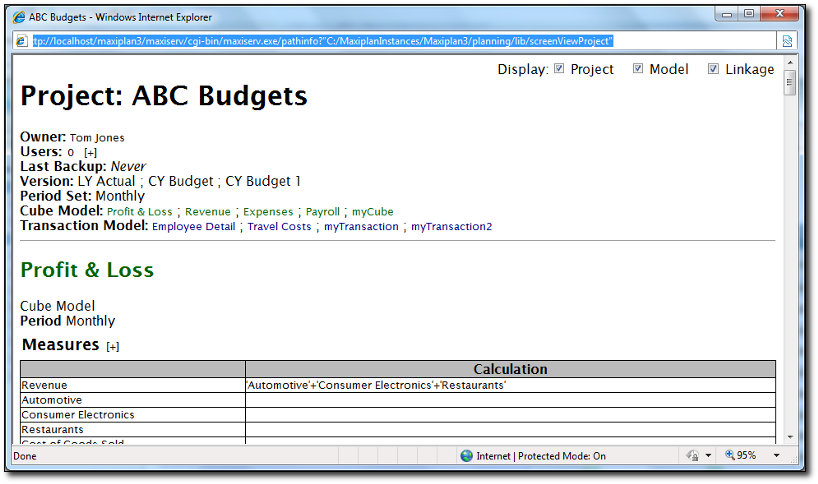
Click on the View button. to view project summary.
Upon clicking the View button, a window containing the project's summary information will pop-up.
Details of the project, models found in the project, linkages found within the project, period set and version can be found in this window.
See also
| 


 Page URL: