Home > Working with Planning Projects > Building an Application > Advanced Project Functions > Data Integration > Import to Cube
Import to Cube
Last Updated 3/8/2012 10:42 PM
The Import to Cube function allows you to import selected data from a designated source into a specified model cube. Once defined a the Import can be run on as as required basis, or as part of a jobset (see Defining a Jobset).
To access this function, go to Cascade Planning Help (BASIC)>Modelling>Maintenance>Import to Cube and the Import Wizard will be displayed.
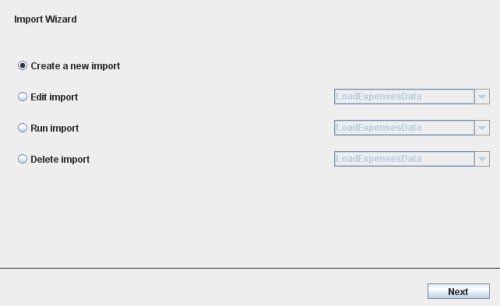
We can then choose from the following options:
- Create a new import - this option will guide you through a series to steps that will assist you in creating a new import data specification.
- Edit import - will allow you to edit and change the settings for a previously created import. To choose the import you wish to edit, simply select it from the drop-down list.
- Run import - this option is used when you wish to run the import specification on an immediate basis. Once you have created an import specification, it will not run automatically. To import the data, you will need to select the import from the drop-down list to run it (or run it as part of a Jobset - see Running Jobsets).
- Delete import - will allow you to delete an import specification from the system. To choose the import specification you wish to delete, simply select it from the drop-down list.
Once you have made your selection from the above options, click the  button . button .
Creating a New Import
If you wish to create a new import specification, after selecting the 'Create a new import' option, the wizard will guide you a series of steps and create the import for you to run.
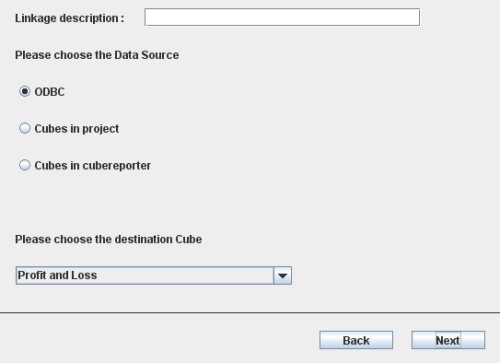
First, enter a description for the import you are creating. This will be the name used to refer to the import specification when selected from the drop-down menus. For this example, we will call the import 'CustomLoad'.
Next, select the type of source you wish to load the data from. You can load data from:
- an ODBC connection, or
- a model cube in the current project, or
- a CubeReporter cube.
Then, select the model cube you are importing the data into. The dropdown list shows all the models in the current project.
And finally, after you have made your selection, click .
The next page will allow you to choose the source you wish to import from.
Loading from an ODBC Source
ODBC stands for Open DataBase Connectivity and provides a standard method for connecting to data stored in relational database management systems (RDBMS). IN order to use an ODBC connection you will need to have previously defined the connection and will have an ODBC Name and in most cases a user login and password which enables your access to the database.
If you are importing from an ODBC source, the wizard will ask you to input the details of the ODBC connection.
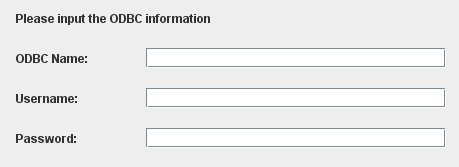
Enter in the ODBC Name you have been supplied with (or if you created the ODBC connection yourself, the name you assigned to the connection) and If the ODBC connection requires a username and password, that must also be entered here.
Loading from an Model Cube or CubeReporter Cube
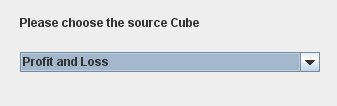
If you are importing from another model cube in the project or from a cube in CubeReporter, the wizard will prompt you to choose the source cube from the dropdown list of available cubes.
Next, the wizard requires you to match up the unlinked dimensions of your source cube to your target cube.
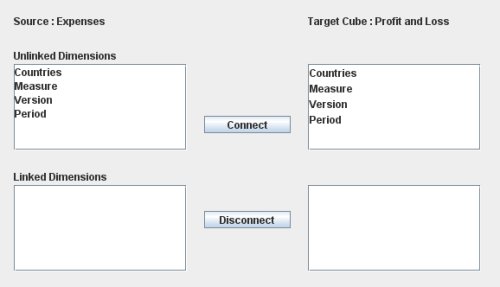
To do this, simply click on both the dimension from your source cube and the dimension from your target cube you wish to be matched and click  . .
On most occasion, you will be able to match up identical dimensions from your source cube to your target cube but you may also wish to connect the dimensions differently.
The Member dimension matching is similar to the one you do for Linking the models.
If you have incorrectly matched dimensions or are not satisfied with your selection, you can disconnect the dimensions. To do this, simply select the two dimensions from the 'Linked Dimensions' boxes and click  . .
Once you have correctly matched the dimensions and are satisfied with your settings, click  . .
Note that the newly created import will not run automatically. To run your import, select it from the drop-down list at the edit level and click .
Once the 'Done' command appears, your import has been run successfully.
You can check the newly imported data by clicking on the target cube in your project.
"Sub" Function for ODBC Imports
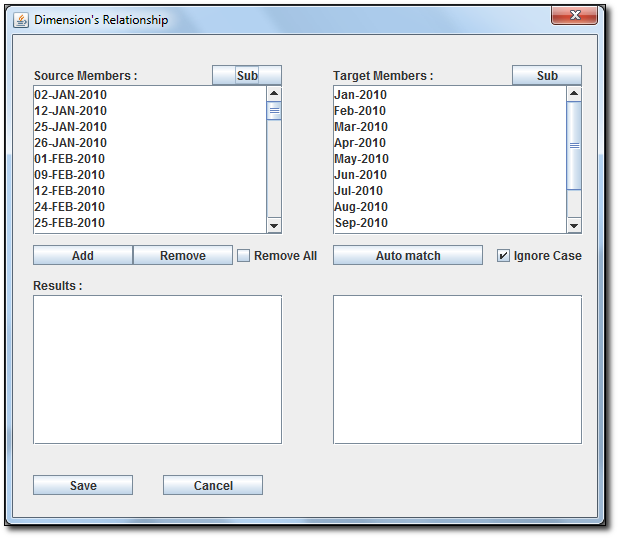
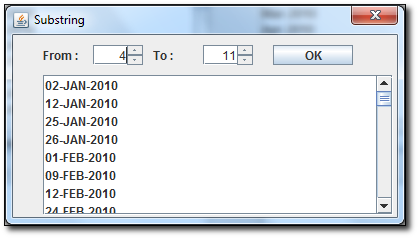
If you are importing from ODBC source, the "Sub" function is available for use. It allows you to select a portion of the member name for linking.
See also
| 

 Page URL: