Home > Working with Planning Projects > Building an Application > Advanced Project Functions > Jobsets > Run Jobsets
Run Jobsets
Last Updated 8/12/2008 2:06 PM
Running a Jobset Manually
To run a jobset manually, go to Modelling>Advanced Processing>Run Jobsets.
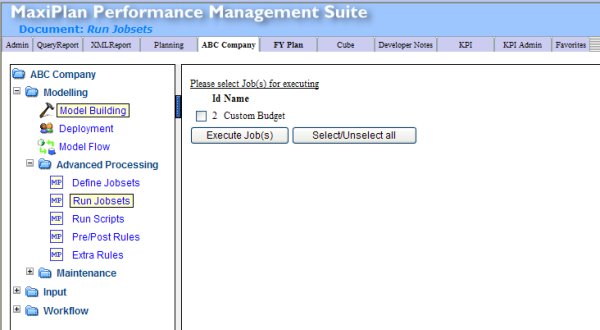
The display will now show a list of all the jobsets that have been created. as well as the ID number for each jobset (this will become useful later in the section on running jobsets by schedule).
You can choose one or more jobsets to be executed, by ticking the the box next to the jobset(s) you wish to run. However, you cannot set an order for the jobsets to be run in as they are executed by ID number.
Once you have chosen the jobset(s) you wish to run, click on  . .
Running a Jobset as a Scheduled Offline Batch Process
Another alternative to running jobsets manually is to run them on a scheduled basis. You can schedule the jobset process on the server to run on a regular basis as defined by the user. Using this method, all the tasks specified within a jobset will be executed every time the jobset is assigned to run for a specific time or purpose.
You can also set the scheduled load to be executed depending on the frequency with which you are required to execute the jobset. You can choose to run the jobset process every hour, every day, every week or on selected days or periods of the year, depending on your needs.
To run the jobset process as a scheduled job, simply follow these steps:
1. First, create a command file (.bat file) located on the Maxiplan server.
2. Enter the following command line into the command file using a text editor (make sure it is typed all on one line):
"C:\maxiplan\maxiserv\cgi-bin\maxiserv.exe" "C:\maxiplan\planning\lib\runJobOffline.ob" -r "C:\maxiplan" -a 'jobid'
(Ensure you replace C:\maxiplan with the maxiplan home directory for your installation and change jobid to the correct Jobid Number)
If you need to run more than one job to be run, you can add them to the batch line below the first one. The jobs will be run in sequence.
"C:\maxiplan\maxiserv\cgi-bin\maxiserv.exe" "C:\maxiplan\planning\lib\runJobOffline.ob" -r "C:\maxiplan" -a 17
"C:\maxiplan\maxiserv\cgi-bin\maxiserv.exe" "C:\maxiplan\planning\lib\runJobOffline.ob" -r "C:\maxiplan" -a 21
The Jobid number can be obtained by going to Modelling/Advanced Processing/Run Jobsets which lists all the jobs and the associated Jobid numbers.
3. Save the command file (for example loadexpense.bat) into a folder. To set up a scheduled task, on the server go to Start>Programs>Accessories>System Tools>Scheduled Tasks.
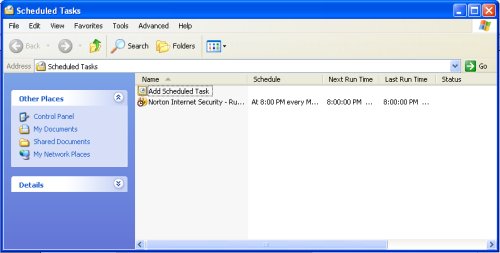
Click on 'Add Scheduled Task' and the Scheduled Task Wizard will be displayed.
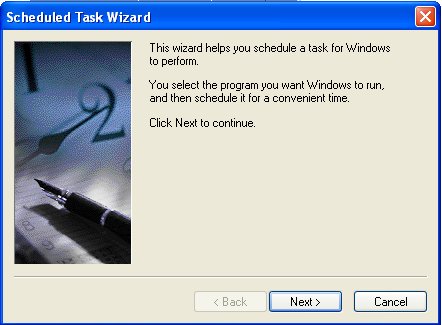
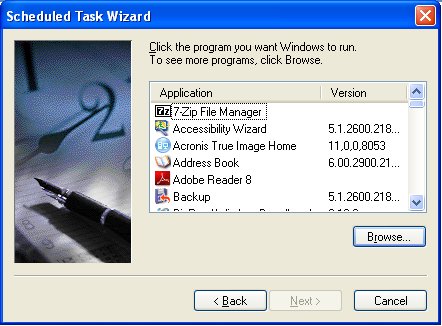
To continue with creating a scheduled task for Windows, click 'Next'. A list of available programs will be displayed.
Click on 'Browse' and locate the command file that you have created, and select it as the program you wish to run.
Having selected the program it will be necessary to provide the task with a name and to set a schedule for when the task is to be run and how often.
Enter in a unique and descriptive name for the task.
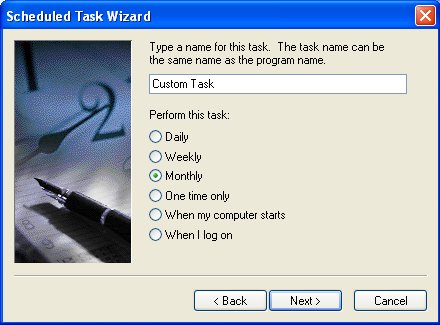
Select the frequency with which you want to schedule the task e.g. daily, weekly, monthly, etc.
Click 'Next>' button.
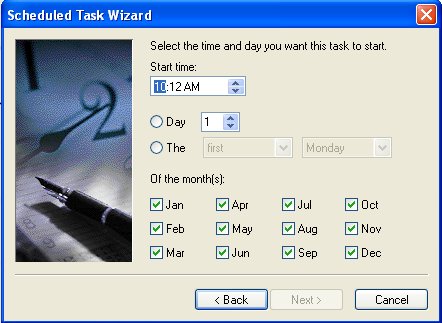
Set the time the task is to be run and regularity desired.
Also check on which day of the month the task is to run, and for which months. You can also elect to run the job on a particular day of the month, for example the "first Monday of the month".
Once the desired settings have been checked, click on 'Next>'.
The Username and Password that will be used to run the job, must be specified:
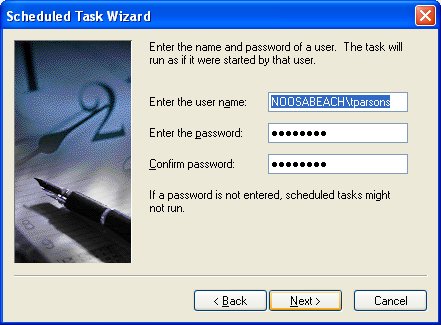
After confirming Username and Password, click on 'Finish' to allow the wizard to create the scheduled task.
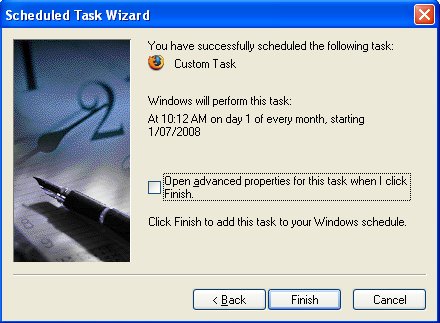
The newly created scheduled task will now appear when you select 'Scheduled Tasks' from the Start Menu.
You can change or modify the scheduled task by right clicking on the task and selecting 'Properties'.
The Properties window will appear, and from here, you can amend any settings for the task as shown below.
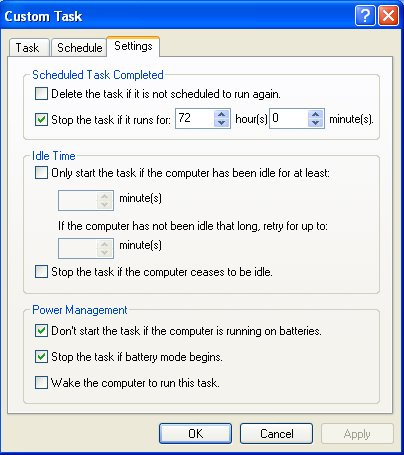
Once all changes have been made, click 'OK' to save the changes to the scheduled task.
The task will then run as per setup.
See also
See also
| 

 Page URL: